On this page
GreptimeDB offers a fast and cost-effective alternative to InfluxDB, boasting cloud-based elasticity and commodity storage. It can be considered a production-ready implementation of InfluxDB v3.
In our previous article, we demonstrated on how to migrate data from InfluxDB v2 to GreptimeDB. However, many users are still using InfluxDB v1, here, we write another tutorial on how to migrate data from InfluxDB v1 to GreptimeDB.
Prerequisites
Before starting, you need access to your InfluxDB engine path, which contains your data files. If you are running a server with InfluxDB's v1.8 official Docker Image, the engine path would be /var/lib/influxdb/.
This tutorial guides you through migrating data from an InfluxDB server. Refer to the Appendix for instructions on how to set up your environment for an InfluxDB server.
Set up Greptime Service
Assuming you have an InfluxDB server up and running, the first step before migrating data to a GreptimeDB server is to set it up.
The fastest way to get a GreptimeDB cluster is to start a Hobby plan service on GreptimeCloud. Note that the Hobby plan is completely free with no credit card info needed.
Follow the instructions to create a new GreptimeDB service, and click the "Connection Information" button to find the connection information. Then, export the necessary environment variables:
shell
export GREPTIME_DB="<dbname>"
export GREPTIME_HOST="<host>"
export GREPTIME_USERNAME="<username>"
export GREPTIME_PASSWORD="<password>"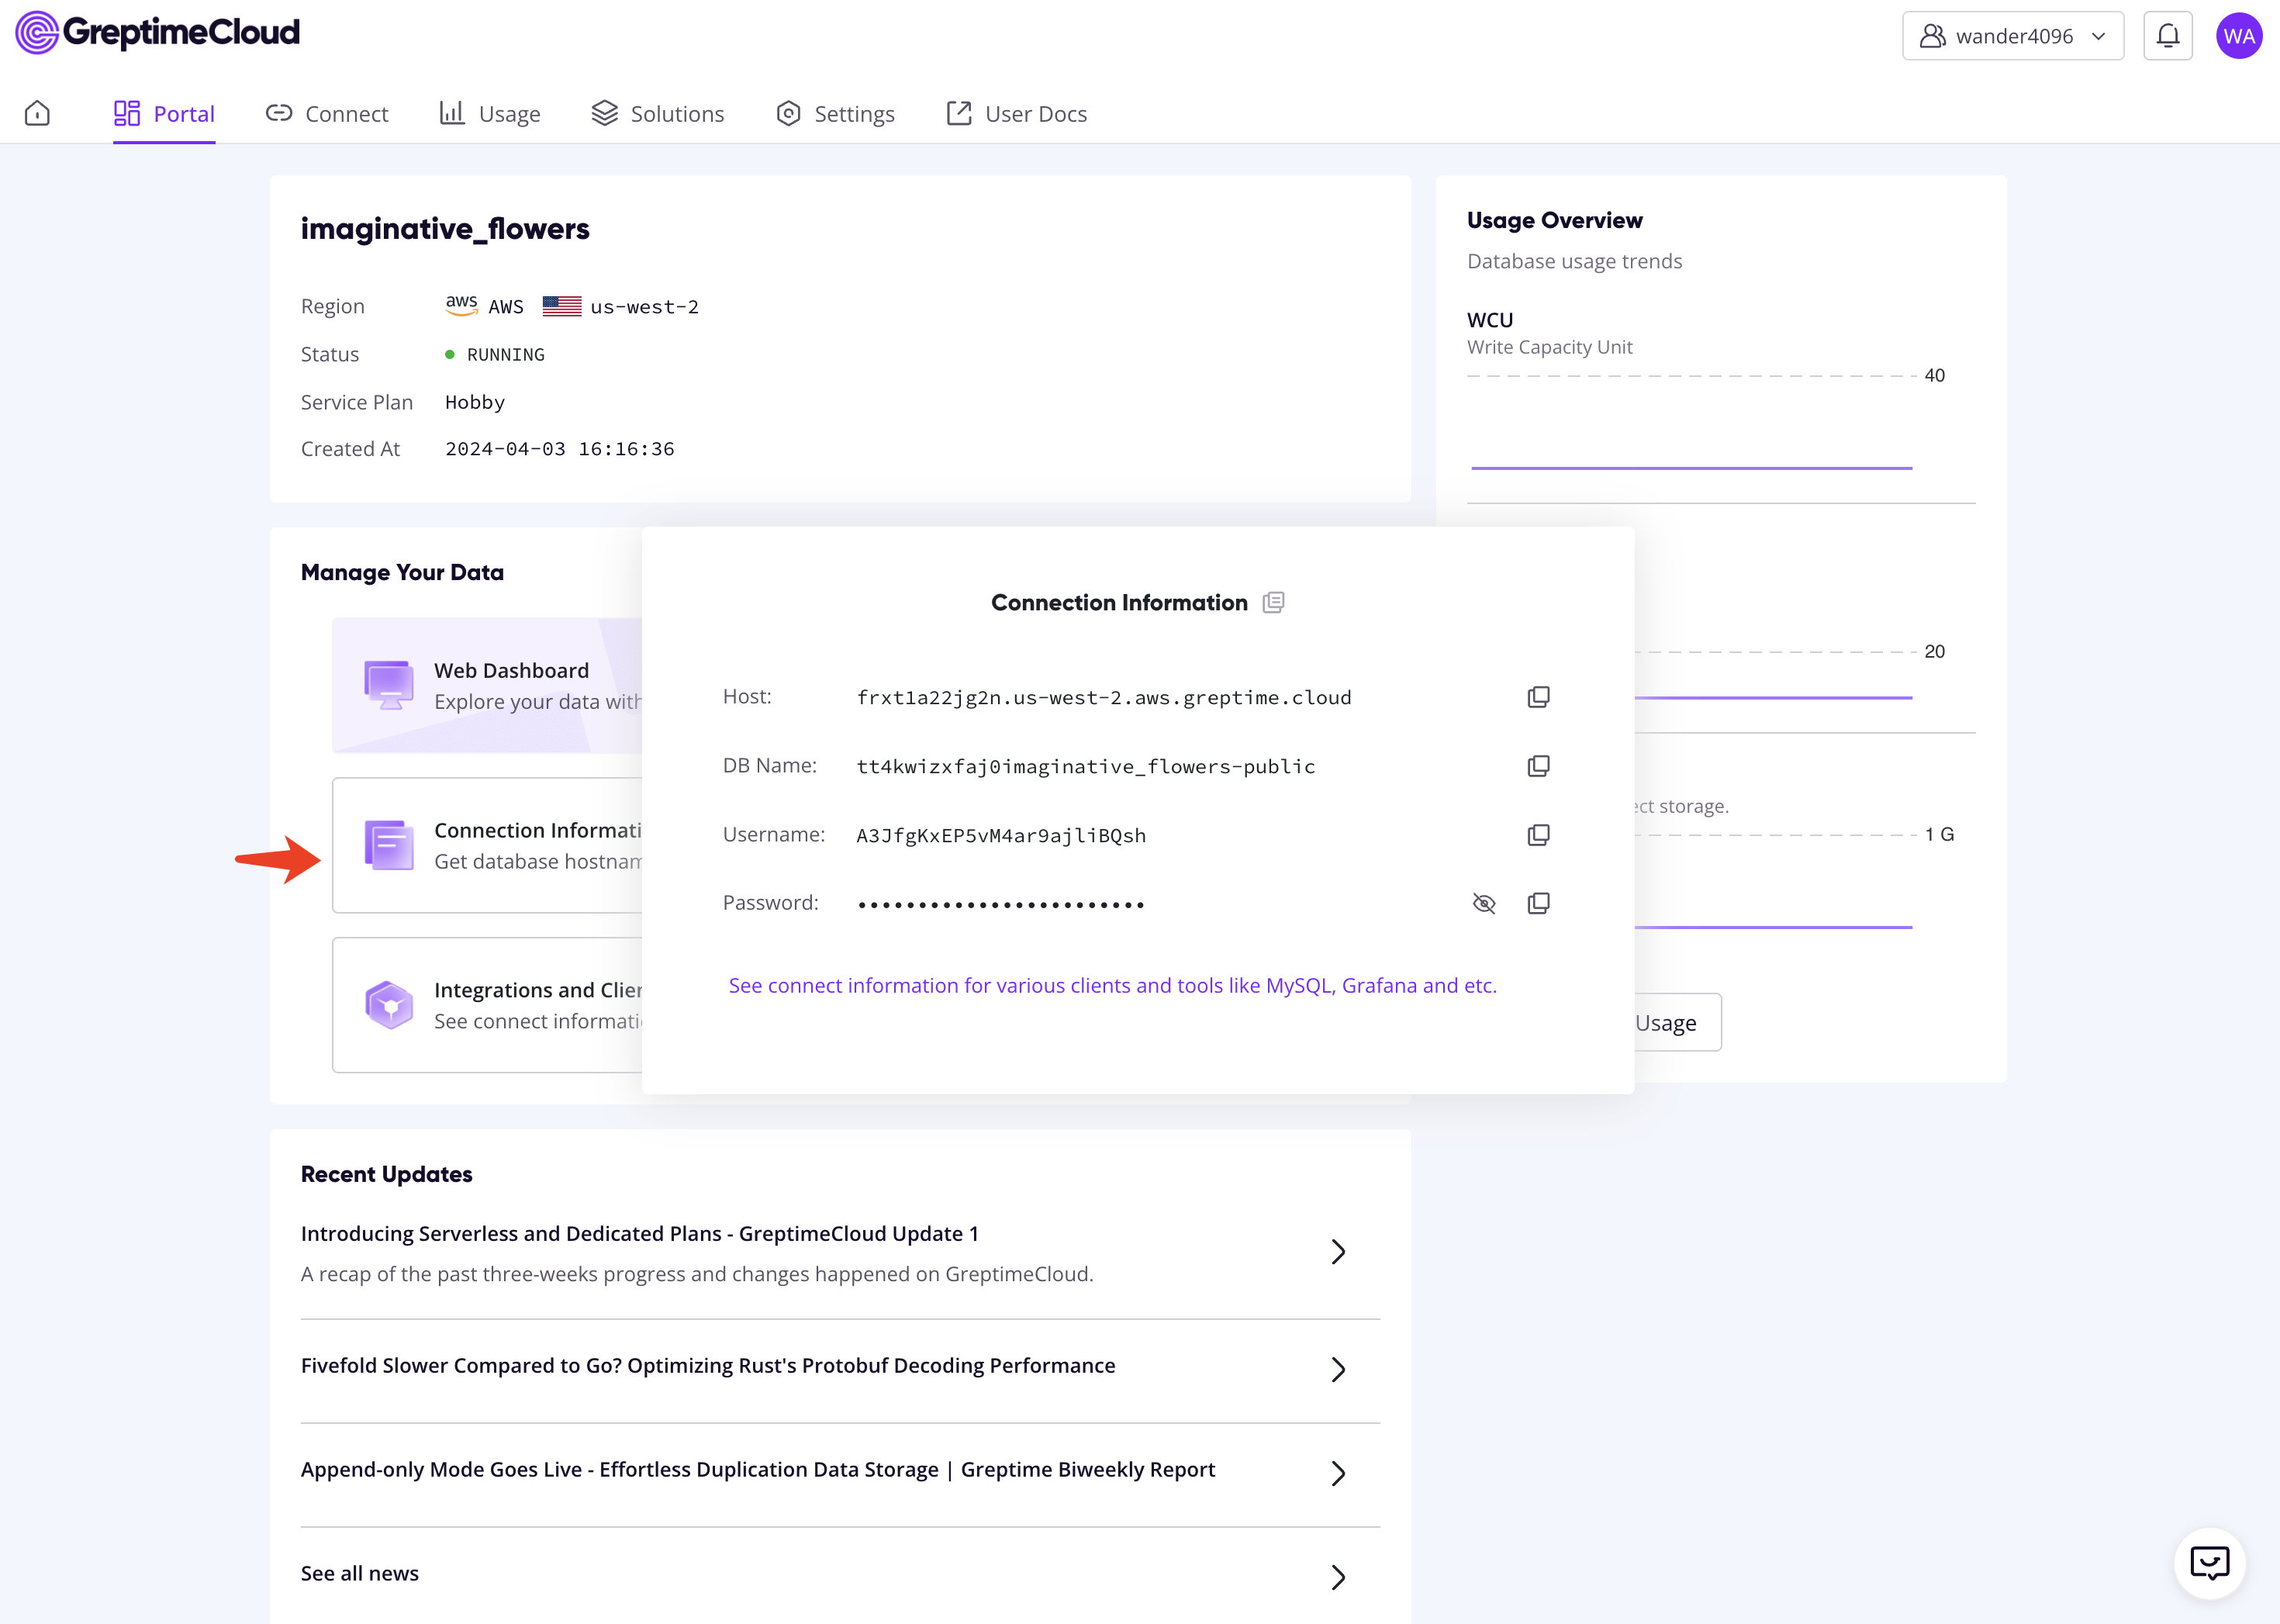
Export Data from InfluxDB v1 Server
You can run the following commands to export data in InfluxDB's line protocol:
shell
export DATABASE="<dbname>"
export ENGINE_PATH="<engine-path>"

influx_inspect export \
    -database $DATABASE \
    -lponly \
    -datadir $ENGINE_PATH/data \
    -waldir $ENGINE_PATH/wal \
    -out /tmp/influxdb_export.lp
If you set up the server as in Appendix, you can run the following command:
shell
export DATABASE="mydb"
export ENGINE_PATH="/var/lib/influxdb"

docker exec influxdb1 influx_inspect export \
    -database $DATABASE \
    -lponly \
    -datadir $ENGINE_PATH/data \
    -waldir $ENGINE_PATH/wal \
    -out /tmp/influxdb_export.lp
The outputs look like the following:
writing out wal file data for mydb/autogen...complete.TIP
You can specify more concrete data sets, like time range, to be exported. Please refer to the influx_inspect export manual for details.
Import Data to GreptimeDB
Copy the influxdb_export.lp file to a working directory. If you set up the server as in Appendix, you can run:
shell
docker cp influxdb1:/tmp/influxdb_export.lp influxdb_export.lpBefore importing data to GreptimeDB, if the data file is too large, it's recommended to split the data file into multiple slices:
shell
split -l 1000 -d -a 10 influxdb_export.lp influxdb_export_slice.
# -l [line_count]    Create split files line_count lines in length.
# -d                 Use a numeric suffix instead of a alphabetic suffix.
# -a [suffix_length] Use suffix_length letters to form the suffix of the file name.
Now, import data to GreptimeDB via the HTTP API:
shell
for file in influxdb_export_slice.*; do
    curl -i -H "Authorization: token $GREPTIME_USERNAME:$GREPTIME_PASSWORD" \
        -X POST "https://${GREPTIME_HOST}/v1/influxdb/write?db=$GREPTIME_DB" \
        --data-binary @${file}
    # avoid rate limit in the hobby plan
    sleep 1
done
You're done!
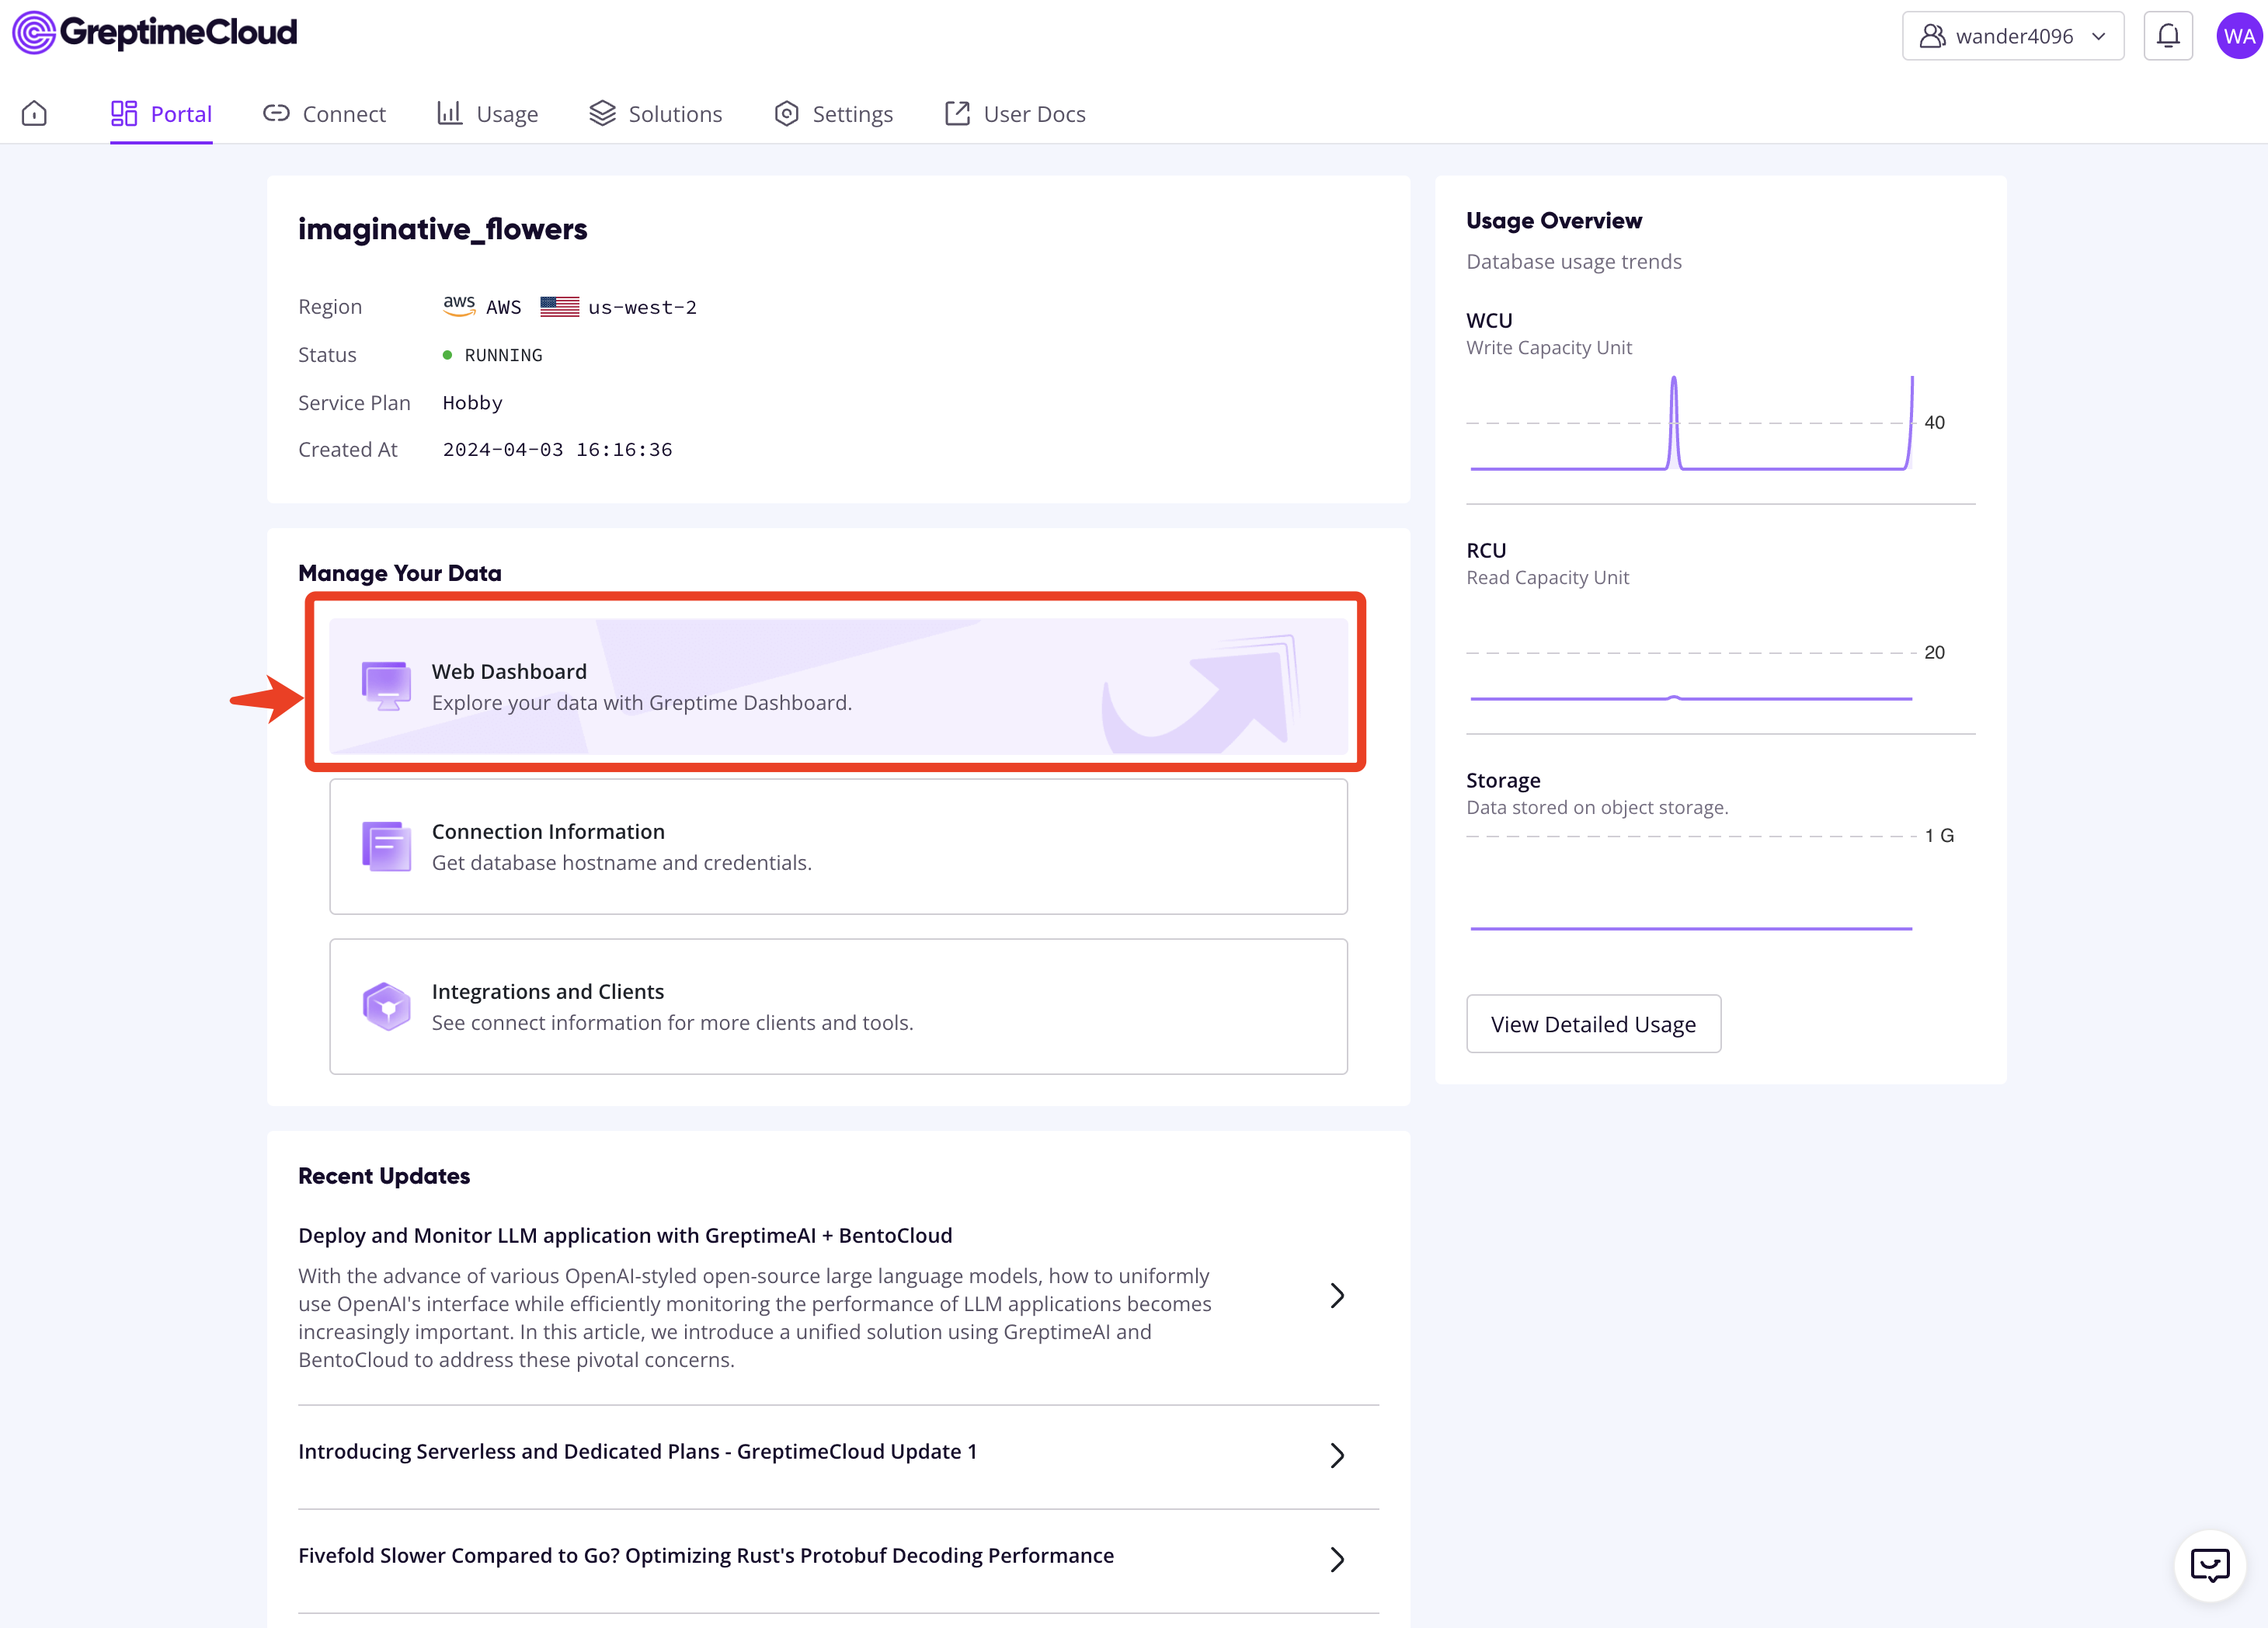
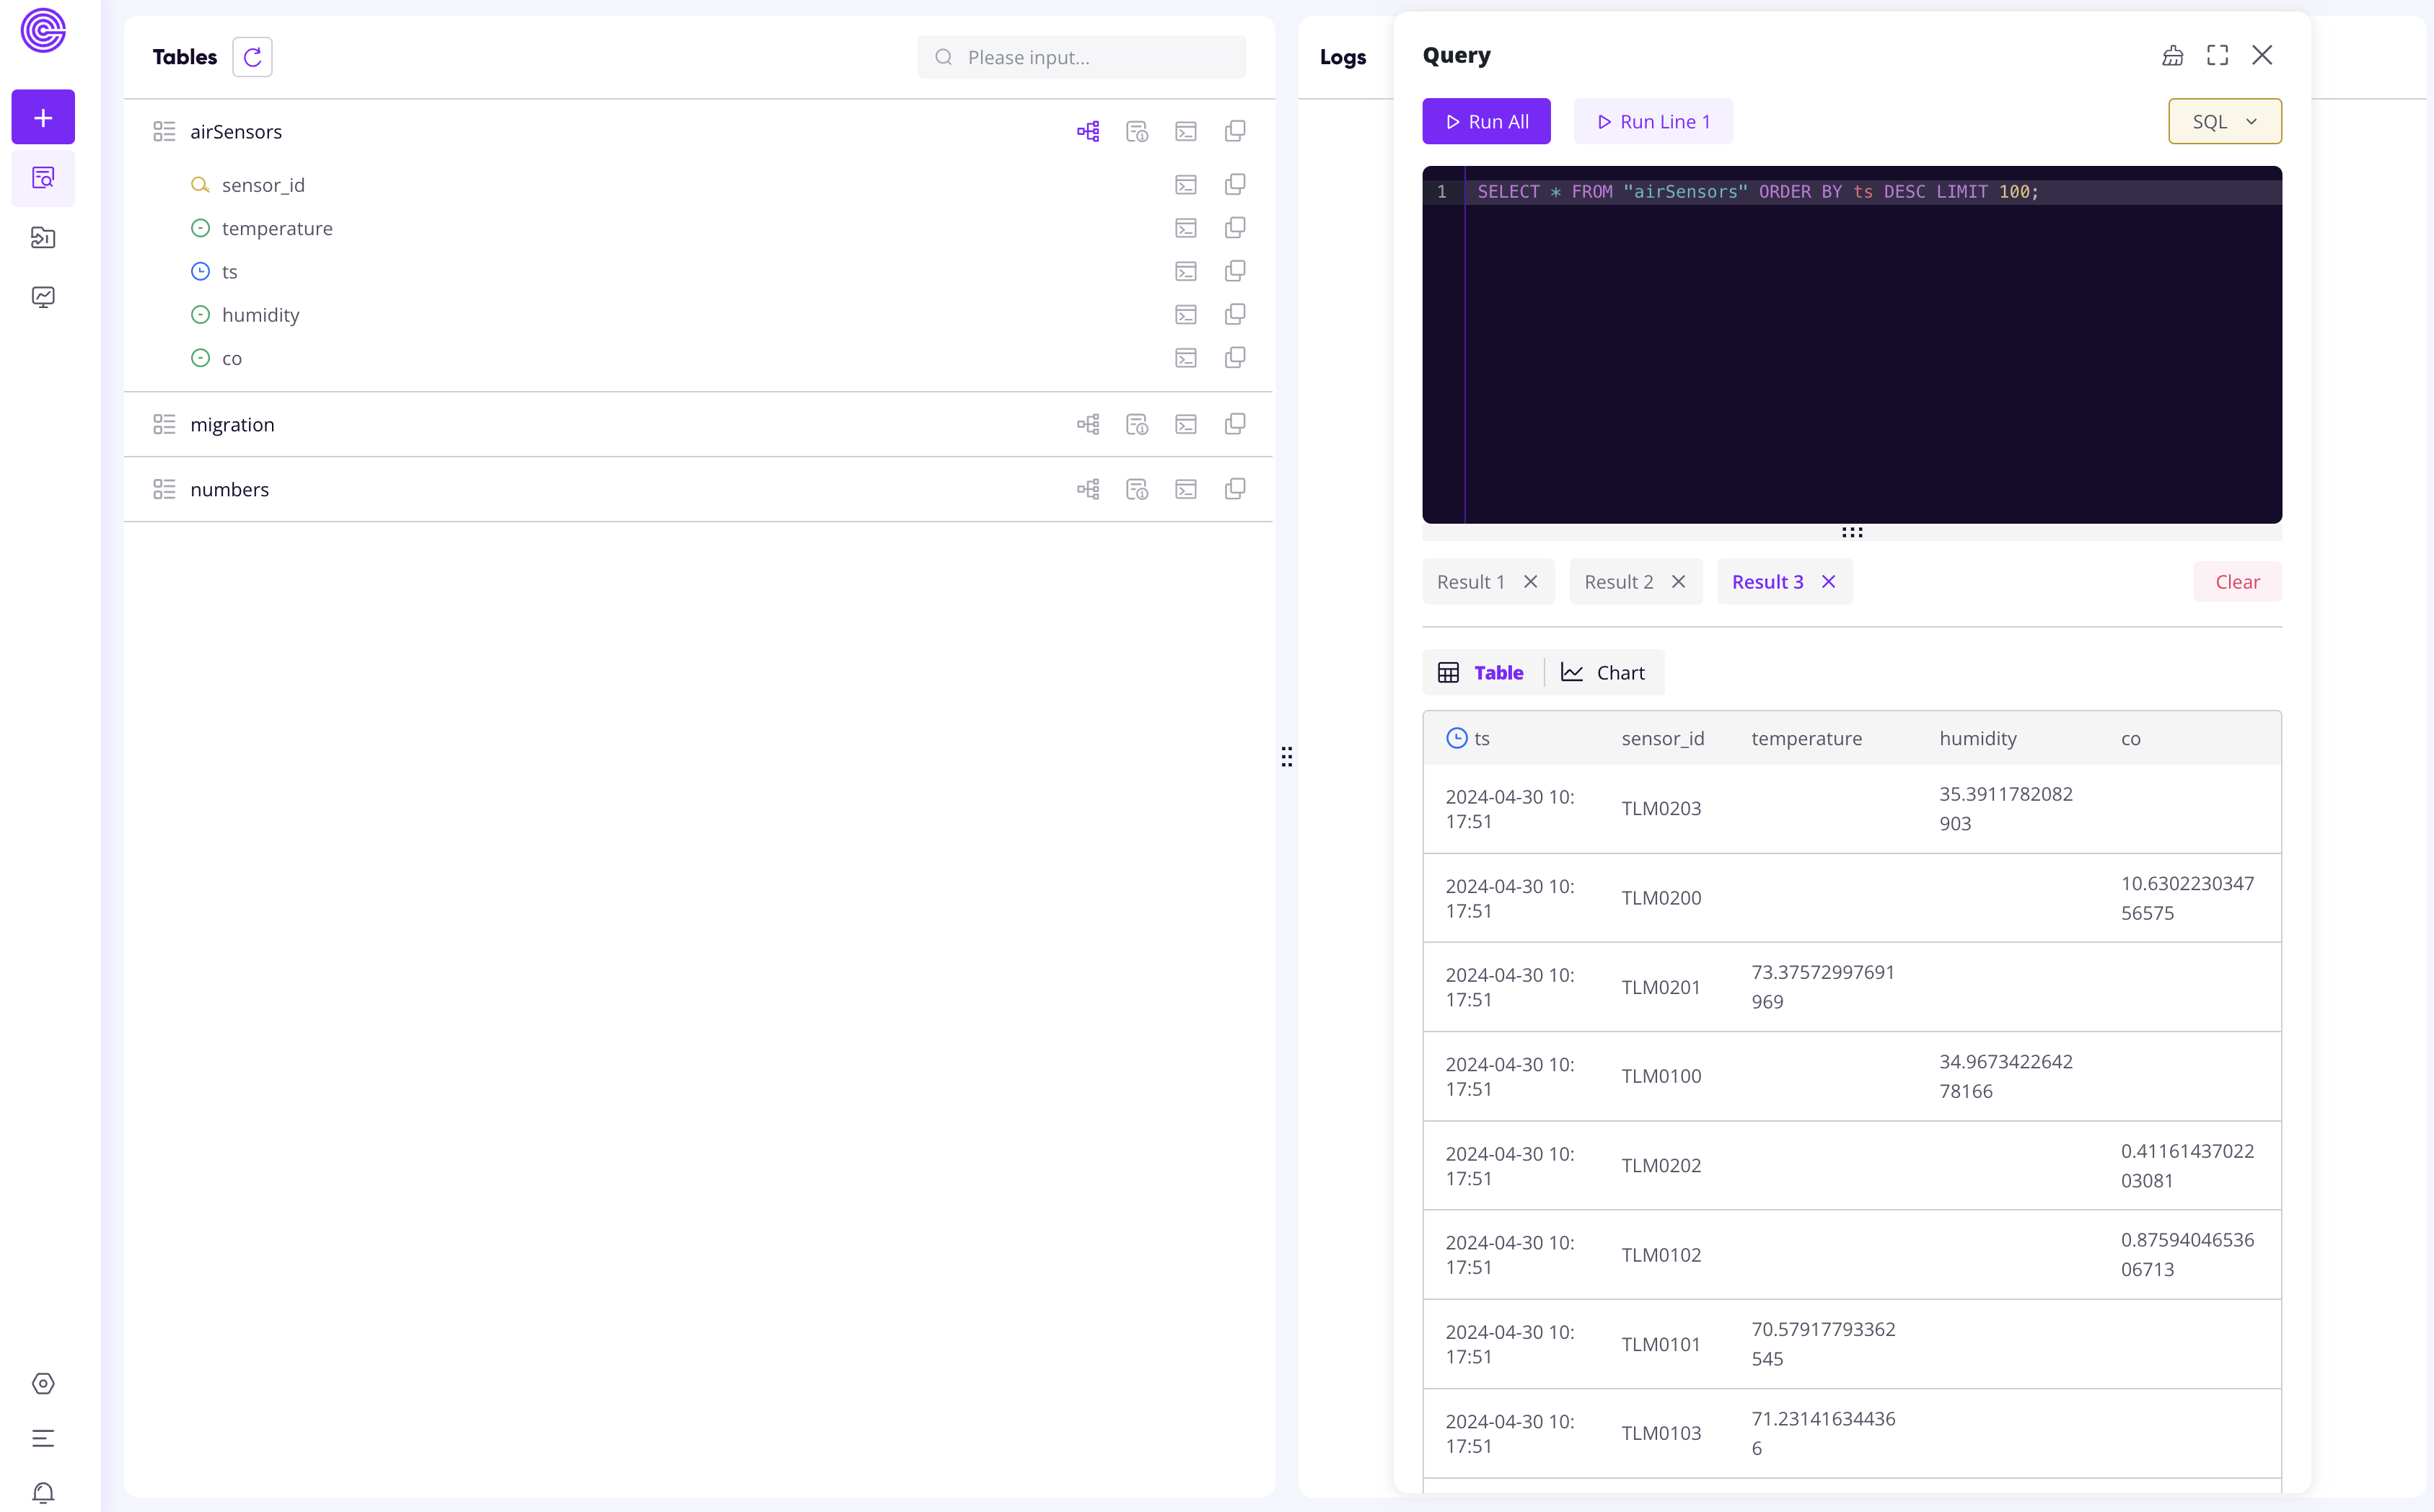
You can browse the Web Dashboard on GreptimeCloud to check the ingested data:

Appendix: Set up an InfluxDB v1 Server
This section shows how to start an InfluxDB V1 server and prepare sample data.
First, head to a clean directory and run the following Docker command to start a new server in a container named influxdb1:
shell
docker run -p 8086:8086 --name influxdb1 influxdb:1.8Then, attach to the container via an interactive shell:
shell
docker exec -it influxdb1 influxCreate the database in the interactive shell:
sql
CREATE DATABASE mydb;
SHOW DATABASES;
Now, ingest some sample data into mydb:
shell
curl -O https://raw.githubusercontent.com/influxdata/influxdb2-sample-data/master/air-sensor-data/air-sensor-data.lp
curl -i -XPOST "http://localhost:8086/write?db=mydb" --data-binary @air-sensor-data.lp
Ensure data is ready in the interactive shell:
sql
USE mydb;
SELECT COUNT(*) FROM airSensors;
The output should looks like the following:
name: airSensors
time count_co count_humidity count_temperature
---- -------- -------------- -----------------
0    5288     5288           5288
About Greptime
Greptime offers industry-leading time series database products and solutions to empower IoT and Observability scenarios, enabling enterprises to uncover valuable insights from their data with less time, complexity, and cost.
GreptimeDB is an open-source, high-performance time-series database offering unified storage and analysis for metrics, logs, and events. Try it out instantly with GreptimeCloud, a fully-managed DBaaS solution—no deployment needed!
The Edge-Cloud Integrated Solution combines multimodal edge databases with cloud-based GreptimeDB to optimize IoT edge scenarios, cutting costs while boosting data performance.
Star us on GitHub or join GreptimeDB Community on Slack to get connected.


